
Tomcat & Fatcat Install
Units come complete with an installation pack that contains the following:
3 Feet
3 Feet Screws
1 Connector
1 Bush (Plus Spare)
1 Drill Bit
1 Tube Glue
3 Neoprene Spacers
You’ll need a step ladder, large crosshead screwdriver, pencil & a drill that can hold a 12mm bit noting that units can weigh up to 50kg so you may need an extra pair of hands to install your Hicat® - if you have a small mirror this will also be useful
After unpacking your Hicat® give the unit a good vacuum inside & out to remove any loose fibres

Attach the feet screwing them into the pilot holes on base of the Hicat®

Remove cat

Mark-up a hole on the ceiling in the centre of the proposed Hicat® position

Drill a hole at the centre mark at least 20mm deep using the drill bit & insert the bush into the ceiling - apply glue into the ceiling hole & the bush & leave to dry for 10 minutes

Without the connector installed move the Hicat® in its proposed position with the access holes orientated in the desired direction & make sure the unit is plumb - if you have an uneven floor you can use the enclosed neoprene spacers to level out the unit where required
Tip - it’s best to just slide a spacer under the feet to start with to get the unit level then once you’re happy with the rotation & setting out, unscrew the feet, add the spacer & re-attached the feet

Install the connector into the top of the Hicat® pushing hard until it locks into the bush
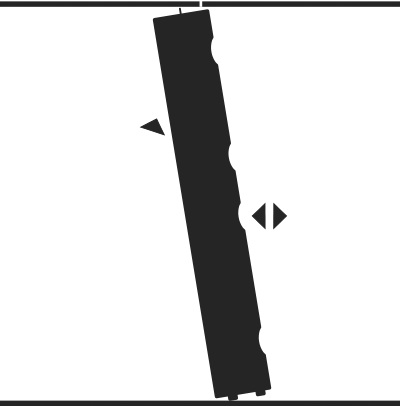
With the Access Holes facing you & using them to hold the Hicat® lift the unit & locate the connector into the bush keeping the unit as vertical as possible

Remove cat

Manoeuvring the Hicat® into position can be tricky so it's best to have someone on a step ladder with a small mirror to help guide the unit into position while you manoeuvre it

When the connector is located in the bush push the bottom of the Hicat® into an upright position
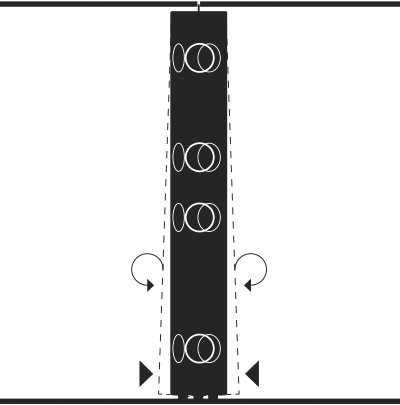
Rotate the Hicat® into its proposed orientation & plumb the unit

Remove cat

After installation the connector should extend into the ceiling bush by at least 10mm - as a visual check the gap between the top of the Hicat® & ceiling should be 20mm or less after installation

Remove cat

Remember to give your unit a quick check over from time-to-time to make sure that the ceiling connector is correctly engaged & the unit is stable before allowing your cat to play on it

Playtime…
We love hearing from customers & their cats on what they think of their Hicat® so feel free to get in touch & send a piccie or two